Are Smart Telescopes Worth It for Beginners?

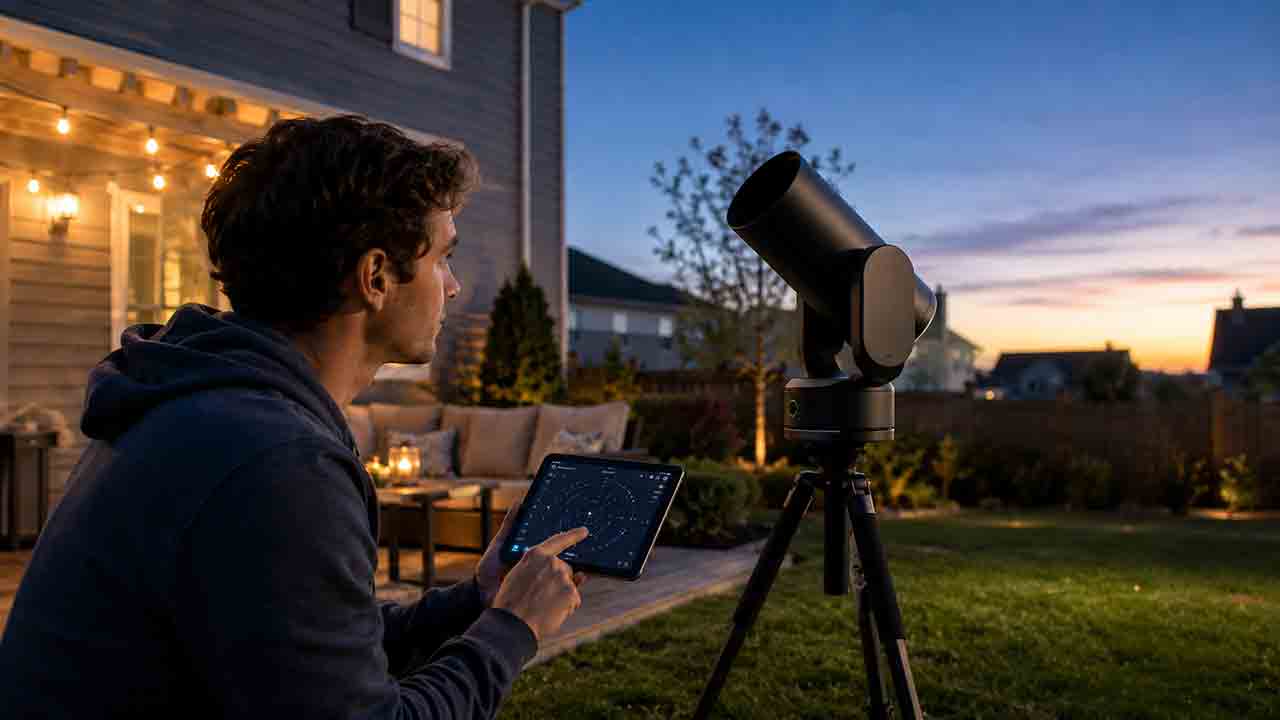
Are Smart Telescopes Worth It for Beginners?
Yes, smart telescopes can be worth it for beginners who want an easy way to locate targets, view processed deep-sky images, and save photos without assembling a separate camera, mount, and computer. They are less suitable for beginners who mainly want direct eyepiece views, high-magnification planetary observing, manual sky-learning, or a system that can be upgraded one component at a time.
Key Takeaways
- A smart telescope combines optics, a camera, a motorized mount, automated targeting, and image processing in one app-controlled system.
- Smart telescopes are strongest for low-friction deep-sky imaging and shared screen-based observing, not necessarily for traditional eyepiece astronomy.
- Compact models can reveal nebulae and galaxies through live stacking, but dark skies, clear weather, target altitude, and sufficient capture time still matter.
- A lower purchase price does not automatically mean better value; repeat use, app support, battery life, file access, and accessories affect the real cost.
- Beginners should choose a smart telescope only after deciding whether they want to observe through an eyepiece or build images on a screen.
This guide explains how smart telescopes work, where they perform well, what they cannot replace, and how to decide whether one fits your observing goals. It also includes a comparison framework, a hypothetical cost-per-session calculation, real-world beginner scenarios, a decision tree, a buying checklist, and troubleshooting guidance.
Method note: This guide is based on published specifications, authoritative documentation, and practical selection criteria rather than hands-on product testing. Product features, prices, app requirements, and availability can change; verify current details before purchasing.
What Is a Smart Telescope?
A smart telescope is an integrated observing system that typically combines a small optical tube, digital image sensor, motorized mount, automated sky alignment, target database, tracking, and real-time image processing. Most models are controlled through a phone or tablet rather than a traditional hand controller.
The term is not a single technical standard. Current products range from compact camera-like devices with short telephoto optics to larger reflecting telescopes with automated focusing, target acquisition, live stacking, and optional electronic eyepieces. Representative official specifications available in July 2026 span roughly 35–114 mm of aperture and about 150–450 mm of focal length. ZWO Seestar, “Seestar S50 All-in-One Smart Telescope,” official specifications and US listing DWARFLAB, “DWARF 3 Smart Telescope,” official specifications and US listing Vaonis, “Vespera 3 and Vespera Pro 2,” official specifications UNISTELLAR Help Center, “Compare Our Smart Telescopes,” updated June 27, 2026
Many smart telescopes are a packaged form of electronically assisted astronomy, or EAA. The Royal Astronomical Society of Canada describes EAA as an observing approach that sits between traditional eyepiece viewing and conventional astrophotography. Royal Astronomical Society of Canada, Victoria Centre, “Special Interest Groups — Electronically Assisted Astronomy.”
How Does a Smart Telescope Produce an Image?
A smart telescope normally locates a target automatically, captures many short exposures, aligns those frames, and combines them while the user watches the image improve. This process is called live stacking.
Stacking does not create light that the telescope never collected. It combines repeated measurements so useful signal becomes more visible relative to random image noise. NASA educational material explains that astronomical images may be built through data collection, artifact removal, and the stacking of multiple exposures. NASA Science, “ViewSpace: Did You Know? Videos for Learners,” explanation of astronomical image processing and stacking Some smart-telescope systems also apply dark-frame calibration, hot-pixel correction, background adjustment, denoising, mosaics, or color processing. Vaonis Support, “Vespera Pro Automatic Image Calibration,” explanation of stacking, dark frames, noise, and hot pixels
The result is different from looking through an eyepiece. A traditional telescope sends focused light directly to the observer’s eye, while a smart telescope usually displays a digitally captured and processed image on a screen. Neither experience is inherently better; they serve different goals.
Are Smart Telescopes Worth It for Most Beginners?
Smart telescopes are worth considering when automation removes the specific barriers that would otherwise keep a beginner from observing. They are not automatically the best first telescope for everyone.
A smart telescope is usually a strong fit when the beginner:
- Wants recognizable images of nebulae, galaxies, and star clusters.
- Has limited time for alignment, star-hopping, focusing, and equipment assembly.
- Prefers using a phone or tablet.
- Wants to save and share images easily.
- Observes from a balcony, yard, campsite, school, or community event where screen sharing is useful.
- Values a compact, integrated system more than component-level flexibility.
A traditional telescope is usually the better fit when the beginner:
- Wants the experience of seeing the Moon, planets, double stars, and brighter deep-sky objects directly through an eyepiece.
- Wants to learn constellations, star-hopping, manual focusing, and mount operation.
- Prioritizes high-magnification planetary observation.
- Wants to replace or upgrade the mount, camera, optical tube, focuser, filters, and accessories independently.
- Prefers equipment that remains useful without a supported mobile app or current operating system.
How Do Smart Telescopes Compare With Traditional Telescopes?
The main difference is not simply “automatic versus manual.” The more important difference is the observing experience: a smart telescope is usually an integrated imaging appliance, while a traditional telescope is usually an optical system that can be used visually and modified over time.
| Decision factor | Smart telescope | Traditional telescope | Modular EAA or astrophotography setup |
|---|---|---|---|
| Primary experience | Screen-based, processed observing | Direct eyepiece viewing | Screen-based imaging with separate components |
| Target finding | Usually automated | Manual or computerized, depending on mount | Usually computerized |
| Deep-sky color | Often appears through stacking | Usually faint or colorless to the eye | Strong potential with suitable equipment |
| Planetary detail | Model-dependent; compact wide-field units are limited | Strong with suitable aperture, focal length, optics, and seeing | Strong with specialized camera and processing |
| Setup complexity | Low to moderate | Low to high | Moderate to high |
| Upgrade flexibility | Usually limited | High | Very high |
| App and firmware dependence | High | Low for manual systems | Moderate to high |
| Battery dependence | Usually essential | Optional for manual mounts | Essential |
| Learning emphasis | Target selection and imaging results | Sky navigation and optical observing | Imaging technique and equipment control |
| Group viewing | Convenient on a shared screen | One observer at a time unless projected | Convenient on a screen |
| Long-term repair path | Often manufacturer-specific | Many parts are standardized | Many parts are replaceable independently |
Which Option Gives the Fastest Beginner Success?
A smart telescope generally gives the fastest route to a recognizable deep-sky image. Automated alignment, GoTo pointing, autofocus on some models, and live stacking reduce the number of independent skills required on the first night.
That convenience does not guarantee a good image immediately. Clouds, haze, nearby lights, low target altitude, poor leveling, obstructed horizons, dew, battery limits, and insufficient capture time still affect the result.
Which Option Teaches More Traditional Astronomy Skills?
A manual or computerized traditional telescope teaches more about eyepieces, magnification, focusing, mount movement, constellations, and star-hopping. A smart telescope can still teach target identification, celestial coordinates, object visibility, seasonal sky changes, and basic imaging concepts, but automation may hide parts of the mechanical process.
The best educational choice depends on the skill the beginner wants to learn.
Which Objects Are Smart Telescopes Good At Observing?
Smart telescopes are generally most compelling on deep-sky targets that benefit from repeated short exposures. Nebulae, galaxies, open clusters, and globular clusters can become easier to recognize as the stack accumulates.
Nebulae and Galaxies
Many compact smart telescopes are designed around short focal lengths and relatively wide fields of view. That combination is useful for large nebulae, nearby galaxies, and broad star fields.
Built-in or optional narrowband and light-pollution filters can improve contrast on some emission nebulae by admitting selected wavelengths while suppressing part of the background. Such filters do not remove all light pollution and are less helpful for broadband targets such as many galaxies, reflection nebulae, and star clusters.
The Moon
The Moon is bright and easy to locate, making it a practical first target. A smart telescope can create convenient lunar photos and provide a shared screen view, although image sharpness and framing depend on aperture, focal length, sensor sampling, focus, and atmospheric steadiness.
Planets
Planetary performance varies substantially. Many compact smart telescopes have short focal lengths and small apertures optimized for wide-field imaging rather than high-magnification planetary detail. Larger premium systems may include planetary modes or longer focal lengths, but buyers should judge actual aperture, focal length, sensor sampling, and published planetary output rather than assuming that every smart telescope is equally versatile.
A beginner whose main goal is to study Jupiter’s cloud belts, Saturn’s rings, lunar craters, and close double stars visually may receive more value from a stable traditional refractor, reflector, or catadioptric telescope.
The Sun
Solar observing is safe only with a compatible, undamaged solar filter designed for the exact instrument and installed according to the manufacturer’s instructions. Never point a telescope or finder at the Sun without the required front-mounted solar protection. Unfiltered sunlight can damage a sensor and can cause permanent eye injury. UNISTELLAR Help Center, “How to Observe the Sun?” updated July 22, 2026
Do not improvise with sunglasses, photographic filters, smoked glass, exposed film, or an eyepiece-mounted filter.
Do Smart Telescopes Work Under Light Pollution?
Yes, smart telescopes can work in cities, but they do not make light pollution irrelevant. Live stacking can reveal objects that are difficult to see through an eyepiece, and some filters can improve selected emission nebulae. However, artificial sky brightness still reduces contrast and limits faint detail.
Dark skies remain valuable because the telescope records both the target and the illuminated sky background. The International Astronomical Union maintains a working group focused on measuring and modeling artificial light at night because it degrades astronomical observing conditions. International Astronomical Union, Commission B7 Working Group, “Light Pollution Measurements and Modelling.”
What Changes in a Bright City Sky?
Under bright urban skies:
- Bright nebulae, clusters, the Moon, and selected galaxies are usually more practical than extremely faint targets.
- Emission-nebula filters may help when the target’s light matches the filter bands.
- Longer stacking can improve the result, but it cannot fully restore contrast lost to a bright background.
- Nearby porch lights, streetlights, windows, and headlights may cause gradients or reflections.
- A clear, dark rural site can provide a larger improvement than a small upgrade in sensor or aperture.
Can a Smart Telescope Be Used From a Balcony?
A balcony can work when it has a stable floor, a broad view of the sky, and no roof or railing that blocks the target path. Automated telescopes also need enough visible stars to orient themselves.
Check whether the mount can safely move without the telescope striking a railing, wall, furniture, or window. Never leave the instrument where it could fall, get wet, or create a hazard below the balcony.
What Are the Main Advantages for Beginners?
1. Lower Setup Friction
A smart telescope packages several components into one system. The beginner does not have to select a separate optical tube, tracking mount, camera, controller, power system, and capture software before taking a first image.
2. Automated Target Finding
Most current systems provide an object catalog and GoTo control through an app. The telescope identifies its position, moves to the selected target, and tracks it. This reduces the frustration of searching for a faint object that may be invisible in a finder scope.
3. Live Image Improvement
Instead of seeing a dim gray patch and wondering whether the telescope is pointed correctly, the user can watch a recognizable image form as frames accumulate. This feedback can make early sessions more rewarding.
4. Easy Sharing
A phone or tablet display lets several people discuss the same target. This is useful for families, classrooms, community events, and observers who find an eyepiece difficult to use.
5. Portable Deep-Sky Imaging
Some current smart telescopes weigh only about 1.3–2.5 kg, while larger premium systems weigh more. ZWO Seestar, “Seestar S50 All-in-One Smart Telescope,” official specifications and US listing DWARFLAB, “DWARF 3 Smart Telescope,” official specifications and US listing Vaonis, “Vespera 3 and Vespera Pro 2,” official specifications Compact models can be practical for travel when their tripod, case, power supply, weather limits, and carry-on rules also fit the trip.
6. A Gentler Introduction to Image Files
Some models export JPEG files for immediate sharing and FITS or TIFF files for later processing. ZWO Seestar, “Seestar S50 All-in-One Smart Telescope,” official specifications and US listing DWARFLAB, “DWARF 3 Smart Telescope,” official specifications and US listing Vaonis, “Vespera 3 and Vespera Pro 2,” official specifications FITS is a scientific image format commonly used in astronomy. Raw-file access gives a beginner room to learn calibration and processing without requiring a completely separate imaging rig on day one.
What Are the Main Limitations?
1. Many Models Do Not Offer a True Eyepiece View
A beginner may expect “looking through a telescope” to mean placing an eye at an eyepiece. Many smart telescopes instead display the camera image on a phone or tablet. A few premium models include an electronic eyepiece, but that is not the same as a fully optical, unprocessed view. UNISTELLAR Help Center, “Compare Our Smart Telescopes,” updated June 27, 2026
2. The System Is Less Modular
An integrated device is convenient because its components are designed to work together. The tradeoff is that the camera, mount, focuser, processor, and optical tube may not be independently replaceable.
A traditional telescope or modular imaging rig can often evolve as the owner’s interests change. With an integrated smart telescope, major upgrades may require buying another system.
3. Software Support Matters
A smart telescope depends on an app, firmware, wireless connection, and a compatible phone or tablet. Manufacturers may add features and bug fixes through updates, but long-term value also depends on continued software support. Vaonis Support — How to Update My Instrument? DWARFLAB, “App and Firmware Download,” app and firmware release information, updated April 28, 2026
Several current systems can observe through a direct local Wi-Fi connection without continuous internet access once setup is complete. Internet may still be needed for initial activation, app downloads, account functions, remote access, map data, sharing, or firmware updates, depending on the model. ZWO Seestar, “Seestar S50 FAQ,” internet and local Wi-Fi requirements Vaonis Support — Do I Need to Be Connected to the Internet to Use My Instrument?
4. Batteries Limit the Session
Battery life claims are measured under particular conditions. Cold weather, dew heaters, high wireless activity, aging batteries, and long sessions can reduce runtime.
Check whether the telescope can operate from an external power bank while observing and whether the manufacturer specifies voltage, current, connector, and temperature limits.
5. Alt-Azimuth Tracking Has Imaging Tradeoffs
Many smart telescopes use a motorized alt-azimuth mount because it is compact and easy to set up. An alt-azimuth mount can track a target, but the field rotates relative to the camera during a long sequence.
Smart-telescope software normally aligns and rotates short frames before stacking. This can create uneven overlap or cropped edges in long integrations. Some current models offer equatorial modes, mosaics, or software derotation, but support is model-specific. ZWO Seestar, “Seestar S50 All-in-One Smart Telescope,” official specifications and US listing Sky & Telescope, “S&T Test Report: The ZWO Seestar S30 Telescope,” discussion of alt-azimuth field rotation and stacking
6. Image Processing Can Hide the Learning Process
Automatic stretching, denoising, color balance, star reduction, and background correction are useful, but they may make it difficult for a beginner to understand which details came from the sensor and which came from processing choices.
This is not a reason to avoid smart telescopes. It is a reason to choose a model that can export raw or minimally processed files when learning image processing matters.
7. Weather and Sky Conditions Still Win
Automation cannot see through clouds, eliminate atmospheric turbulence, prevent dew, or create an unobstructed horizon. A smart telescope is easier to operate, not independent of observing conditions.
How Much Do Smart Telescopes Cost?
Smart-telescope prices cover a broad range. As a dated market snapshot, official US listings accessed on July 30, 2026 included compact systems below $600 and premium integrated systems priced at several thousand dollars. ZWO Seestar, “Seestar S50 All-in-One Smart Telescope,” official specifications and US listing DWARFLAB, “DWARF 3 Smart Telescope,” official specifications and US listing UNISTELLAR USA, official store listings for current smart-telescope models Sales, bundles, tariffs, taxes, shipping, and regional pricing can change the total.
The purchase price should not be evaluated alone. Include:
- Tripod, if not included.
- Carrying case or backpack.
- Approved solar filter, if solar observing is planned.
- Dew-control accessories.
- External battery and compatible cable.
- Optional light-pollution or narrowband filters.
- Replacement charger or adapter.
- Phone or tablet compatibility.
- Cloud services or software subscriptions, if any.
- Warranty length, repair location, and shipping cost.
A Hypothetical Cost-per-Session Example
The following calculation is an illustration, not a prediction of how often any buyer will observe.
Suppose one beginner buys an $800 smart telescope and uses it 24 nights per year for three years:
$800 ÷ (24 sessions × 3 years) = about $11.11 per session
Suppose another beginner buys a $450 traditional telescope but uses it only eight nights per year because setup and target finding feel difficult:
$450 ÷ (8 sessions × 3 years) = about $18.75 per session
The cheaper telescope has the higher hypothetical cost per actual session. The point is not that a smart telescope always offers better value. The point is that repeat use matters more than the price tag alone.
How Can Beginners Use the WORTH Decision Framework?
The WORTH framework is an original five-part way to decide whether a smart telescope matches the buyer rather than merely looking impressive in product photos.
W — What Do You Want to See?
Choose three priority targets before comparing products.
- Large nebulae and galaxies favor wide-field live-stacking systems.
- The Moon and planets require attention to focal length, aperture, resolution, and planetary mode.
- Direct visual observing requires an eyepiece-capable telescope.
- Wildlife or daytime use requires model-specific tracking, focusing, weather resistance, and legal/privacy considerations.
A telescope that performs well on someone else’s favorite targets may be wrong for yours.
O — Observation Style
Decide which sentence sounds more appealing:
- “I want to look through an eyepiece and learn the sky.”
- “I want to select a target and watch an image build on a screen.”
This distinction eliminates many unsuitable purchases before price comparisons begin.
R — Repeat-Use Friction
List every step between deciding to observe and starting the session:
- Carry equipment outside.
- Place and level the tripod.
- Connect the telescope.
- Align or orient the system.
- Select a target.
- Focus.
- Capture or observe.
- Transfer files and recharge.
A smart telescope is valuable when it removes the steps that would otherwise stop the owner from observing regularly.
T — Technology Tolerance
Ask whether the buyer is comfortable with:
- App permissions and accounts.
- Wi-Fi troubleshooting.
- Firmware updates.
- File transfers.
- Battery management.
- Phone operating-system compatibility.
- A manufacturer-controlled software ecosystem.
A buyer who dislikes maintaining connected devices may prefer a manual telescope even when automation looks convenient.
H — Hidden Ownership Costs
Check the full package, not only the optical specifications. A carrying case, solar filter, dew protection, power bank, replacement tripod, filter adapter, and suitable tablet can materially change the budget.
Also check whether the model exports FITS, TIFF, or other files needed for future processing. A low-cost system may become limiting if it only provides compressed images and the owner soon wants more control.
What Does the WORTH Score Suggest?
Give yourself two points for each statement that is clearly true, one point if uncertain, and zero if false:
| Statement | Points |
|---|---|
| I mainly want screen-based images of deep-sky objects | 0–2 |
| Automation would make me observe more often | 0–2 |
| I am comfortable relying on an app, battery, and firmware | 0–2 |
| Easy sharing matters more than an eyepiece experience | 0–2 |
| I accept limited component-level upgrades | 0–2 |
Interpretation:
- 8–10 points: A smart telescope is likely a strong fit.
- 5–7 points: Compare a smart telescope with a computerized traditional telescope or a simple EAA setup.
- 0–4 points: A traditional telescope or binoculars may better match your goals.
This score is a practical recommendation tool, not a scientific test. A single non-negotiable requirement—such as wanting a true eyepiece—can outweigh the total.
Which Beginners Benefit Most From a Smart Telescope?
The City Balcony Observer
A smart telescope can be worthwhile for a city resident who wants to image brighter nebulae, clusters, and galaxies without transporting a large mount. The buyer should confirm the visible sky area, nearby lights, safe placement, Wi-Fi behavior, and whether the chosen targets pass through the available opening.
A darker site will still improve results, especially for broadband targets.
The Family or Classroom User
A shared tablet display can make it easier for several people to discuss the same object. Automated pointing also reduces time spent searching while a group waits.
Before purchasing, check whether the app supports guest control, multiple viewers, screen casting, image export, and any school network restrictions. These capabilities vary.
The Beginner Who Wants Deep-Sky Images Quickly
This is the clearest smart-telescope use case. A compact integrated system can produce recognizable images without the beginner first mastering polar alignment, guiding, camera spacing, capture software, and a multi-component power system.
The tradeoff is less control over the optical and imaging chain.
The Observer With Limited Mobility or Difficulty Using an Eyepiece
Screen-based observing may be easier than bending, rotating, or maintaining precise eye position at an eyepiece. Remote control can also let the observer remain seated or indoors while the telescope operates outside, when the manufacturer supports that use.
Accessibility is individual. Check screen size, text scaling, contrast, voice controls, device weight, tripod height, and safe cable placement.
Which Beginners May Regret Buying One?
The Visual Observer
A beginner who dreams of standing under the stars and seeing Saturn directly through an eyepiece may find a phone-based image emotionally different from the expected experience. No specification table can resolve that preference.
Attend a public star party or borrow equipment before buying. Astronomy clubs often provide opportunities to compare direct visual observing with screen-based imaging. Royal Astronomical Society of Canada, Ottawa Centre, “Public Star Parties.”
The Future Equipment Builder
A beginner who wants to learn polar alignment, guiding, camera cooling, filters, calibration frames, and advanced processing may outgrow a closed all-in-one system. A modular rig has a steeper learning curve, but it supports deeper customization.
A smart telescope can still serve as a portable second instrument later.
The Planet-Focused Observer
Many compact smart scopes are optimized for wider fields and deep-sky stacking. If Jupiter, Saturn, Mars, the Moon, and double stars are the main targets, compare a traditional telescope with sufficient aperture, focal length, stable mounting, and appropriate eyepieces before deciding.
The Software-Averse Buyer
Someone who does not want accounts, updates, wireless setup, charging, or mobile-device dependence is unlikely to enjoy an app-controlled telescope in the long term.
What Real-World Purchase Scenarios Show the Tradeoffs?
Scenario 1: A Beginner With 30-Minute Weeknight Windows
The user has a small yard and often decides to observe after dinner. A traditional setup that requires carrying several pieces, aligning a mount, and locating targets may remain indoors.
A lightweight smart telescope is likely worth considering because lower setup friction directly increases the chance of use. Battery status and target visibility should be checked before sunset.
Scenario 2: A Parent and Child Want to Explore Together
The family wants short sessions, easy target descriptions, and images they can save. A smart telescope can make each person part of the same observation rather than taking turns at an eyepiece.
The parent should still teach sky orientation by identifying directions, constellations, target rise times, and seasonal changes rather than treating the telescope as a celestial vending machine.
Scenario 3: A Beginner Mainly Wants Saturn
A compact wide-field smart telescope may show Saturn as a small object, depending on the model and conditions. A traditional telescope designed for stable higher magnification may provide a more satisfying direct view.
For this buyer, automation is less important than focal length, aperture, optical quality, mount stability, and atmospheric seeing.
Scenario 4: An Apartment Resident Wants Nebula Photos
Storage space is limited, and the user can travel occasionally to a darker site. A compact smart telescope may be a practical first imaging system because it combines the mount, camera, controller, and optics.
The buyer should measure the packed size, total travel weight, tripod length, charging needs, and whether the instrument can operate offline at the destination.
Scenario 5: A Beginner Wants to Learn Serious Astrophotography
A smart telescope can teach target planning, exposure accumulation, image noise, field rotation, calibration, framing, and post-processing. It is a useful introduction when raw files are available.
However, a buyer whose long-term goal is a large sensor, interchangeable filters, autoguiding, specialized optics, and full capture control should budget for a modular system eventually.
What Should You Check Before Buying a Smart Telescope?
Use this checklist before choosing a brand or model.
Observing Goals
- I have listed my three most important targets.
- I understand whether the telescope is optimized for deep sky, planets, the Moon, daytime use, or a combination.
- I know whether I want a true eyepiece view.
- I have reviewed full-resolution sample files, not only social-media images.
Optical and Imaging Specifications
- Aperture is appropriate for my targets.
- Focal length and field of view fit the objects I want to frame.
- The sensor resolution and pixel scale are published.
- The system supports the filters I may need.
- Raw or minimally processed files are available if I want to edit images.
- The mount mode and field-rotation limitations are clear.
App and Device Compatibility
- My phone or tablet meets the current operating-system requirements.
- I understand initial activation and account requirements.
- I know whether observing works without internet access.
- I know how firmware updates are installed.
- I have checked accessibility features and screen readability.
- I know how images are transferred and backed up.
Practical Ownership
- The telescope, tripod, case, and accessories fit my storage area.
- I can safely carry the heaviest individual component.
- The tripod is included or budgeted separately.
- Battery runtime fits my typical session.
- External power is supported safely.
- Dew, temperature, and weather limits fit my climate.
- Warranty, repair, return, and replacement-part policies are acceptable.
Safety
- I will use only a manufacturer-approved solar filter for solar observing.
- The telescope cannot strike railings, walls, people, or furniture while slewing.
- The tripod will stand on stable ground away from traffic and trip hazards.
- I will not leave electronics exposed to rain, sprinklers, or condensation beyond the published protection rating.
What Common Buying Mistakes Should Beginners Avoid?
Choosing by Megapixels Alone
More megapixels do not automatically produce more astronomical detail. Aperture, focal length, optical quality, sensor size, pixel scale, tracking, focus, sky conditions, processing, and target choice all contribute.
Assuming Every Smart Telescope Is Good for Planets
A target database may include planets even when the optical system is mainly designed for wide-field deep-sky imaging. Look for full-resolution planetary examples and relevant specifications.
Ignoring the App
The app is part of the telescope. Read recent release notes, device requirements, connection instructions, data-export options, privacy information, and support documentation before purchasing.
Comparing Only Telescope Weight
Tripod, case, charger, battery, filters, tablet, and accessories can double the practical travel burden. Compare the complete observing kit.
Expecting Instant Finished Images
A target may appear quickly, but cleaner detail often requires additional stacking time. Faint targets and bright urban skies generally demand more patience.
Treating a Filter as a Universal Light-Pollution Cure
Narrowband filters can improve certain emission nebulae but may reduce or distort other targets. Match the filter to the object and understand the wavelengths it passes.
Buying Before Trying Either Experience
A public star party can reveal whether the buyer prefers eyepiece observing, assisted imaging, or both. Trying the experience can prevent an expensive mismatch.
How Do You Set Up a Smart Telescope for the First Time?
The exact steps vary, but a safe general workflow is:
- Charge the telescope and mobile device. Complete app installation, account setup, and firmware updates before traveling to a remote site.
- Choose a stable location. Avoid sprinklers, vehicle traffic, bright direct lights, and overhead obstructions.
- Set up and level the tripod. Follow the manufacturer’s load, leg-extension, and leveling instructions.
- Attach the telescope securely. Confirm that all locks and threads are fully engaged.
- Connect through the official app. Grant only the permissions required for location, Bluetooth, Wi-Fi, or storage.
- Check time and location. Incorrect time, coordinates, or compass calibration can cause pointing errors.
- Use a bright, high target first. The Moon, a bright cluster, or a recommended “best tonight” target is usually easier than a faint object near the horizon.
- Allow the image to build. Do not judge a deep-sky stack from the first frame.
- Save, transfer, and back up files. Confirm that the session is stored before clearing internal storage.
- Dry and recharge the equipment. Let external moisture evaporate before sealing the telescope in a case.
Always follow the model’s manual when it differs from this general sequence.
How Can You Troubleshoot Common Problems?
| Problem | Likely causes | First checks |
|---|---|---|
| App cannot find the telescope | Wrong Wi-Fi, Bluetooth or location permission disabled, low battery, outdated app | Restart both devices, confirm permissions, connect to the telescope’s network, check the manual |
| GoTo misses the target | Incorrect time/location, poor leveling, obstructed sky, calibration error | Verify location and clock, level the tripod, move away from metal structures, repeat orientation |
| Image remains noisy | Short stacking time, bright sky, haze, low target altitude, unsuitable filter | Increase capture time, choose a higher target, shield direct lights, match filter to target |
| Stars are elongated | Wind, vibration, poor tracking, low target, rejected frames, field rotation | Stabilize tripod, shorten exposed legs, choose a higher target, inspect mount mode |
| Image corners look uneven | Alt-azimuth field rotation or mosaic overlap | Allow software cropping, use supported derotation or equatorial mode, reframe target |
| Image becomes soft | Dew, poor focus, thermal change, cloud, atmospheric turbulence | Check lens for moisture, activate approved dew control, refocus if supported |
| Battery drains faster than expected | Cold weather, dew heater, wireless use, aging battery | Use approved external power, reduce unnecessary features, keep battery within temperature limits |
| Storage fills quickly | Saved subframes, video, mosaics, raw files | Transfer and back up files, then clear storage through the documented process |
| Phone loses internet | Direct connection uses the phone’s Wi-Fi radio | Use cellular data or a supported station/bridge mode if available |
Do not open the telescope housing or attempt internal repair unless the manufacturer explicitly authorizes it. Doing so may damage the optics, electronics, seals, or warranty coverage.
Which Telescope Should You Choose Next?
Choose a smart telescope when your priority is convenient screen-based observation, automatic target finding, and integrated deep-sky imaging.
Choose a traditional telescope when your priority is direct eyepiece viewing, planetary detail, manual astronomy skills, or long-term component flexibility.
Choose a modular EAA or astrophotography setup when you accept a steeper learning curve in exchange for interchangeable cameras, mounts, filters, optics, and software.
Beginners who remain uncertain should first attend a star party, borrow binoculars or a telescope, and compare the two experiences. The right first instrument is not the one with the longest feature list; it is the one that matches the way the owner genuinely wants to observe.
Frequently Asked Questions
Can a smart telescope replace a traditional telescope?
A smart telescope can replace a traditional telescope for users whose main goal is automated imaging and screen-based observing. It does not fully replace the direct visual experience, high-magnification flexibility, and component upgrade path of a traditional telescope.
Do smart telescopes need internet access outdoors?
Not always. Several current models communicate directly with a phone through their own Wi-Fi network and can observe without continuous internet after setup. Initial activation, app installation, firmware updates, remote access, account functions, or sharing may still require internet. Check the exact model documentation.
Can beginners see galaxies from a city with a smart telescope?
Beginners can capture some brighter galaxies from a city, but results depend on sky brightness, transparency, target altitude, aperture, sensor, tracking, and stacking time. Darker skies usually improve galaxy contrast more than a light-pollution filter because galaxies emit broadband light.
Are smart telescopes good for children?
They can be useful for supervised family learning because a shared screen makes discussion easier. An adult should manage setup, charging, weather protection, tripod safety, privacy settings, and all solar-observing procedures.
Can smart telescopes take professional-quality astrophotos?
They can produce impressive images and, on some models, export FITS or TIFF files for further processing. However, integrated systems usually provide less sensor, optics, filter, mount, and guiding flexibility than a dedicated modular astrophotography rig. “Professional-quality” also depends on the intended scientific or publishing standard.
Will a smart telescope teach me the night sky?
It can teach object names, constellations, coordinates, visibility, target planning, and seasonal changes. It will not automatically teach manual star-hopping unless the user deliberately studies the sky alongside the app.
Sources
The following sources were accessed on July 30, 2026, unless another update date is stated. Product specifications and prices can change.
- ZWO Seestar, “Seestar S50 All-in-One Smart Telescope,” official specifications and US listing
- DWARFLAB, “DWARF 3 Smart Telescope,” official specifications and US listing
- Vaonis, “Vespera 3 and Vespera Pro 2,” official specifications
- UNISTELLAR Help Center, “Compare Our Smart Telescopes,” updated June 27, 2026
- Royal Astronomical Society of Canada, Victoria Centre, “Special Interest Groups — Electronically Assisted Astronomy.”
- NASA Science, “ViewSpace: Did You Know? Videos for Learners,” explanation of astronomical image processing and stacking
- Vaonis Support, “Vespera Pro Automatic Image Calibration,” explanation of stacking, dark frames, noise, and hot pixels
- UNISTELLAR Help Center, “How to Observe the Sun?” updated July 22, 2026
- International Astronomical Union, Commission B7 Working Group, “Light Pollution Measurements and Modelling.”
- Vaonis Support — How to Update My Instrument?
- DWARFLAB, “App and Firmware Download,” app and firmware release information, updated April 28, 2026
- ZWO Seestar, “Seestar S50 FAQ,” internet and local Wi-Fi requirements
- Vaonis Support — Do I Need to Be Connected to the Internet to Use My Instrument?
- Sky & Telescope, “S&T Test Report: The ZWO Seestar S30 Telescope,” discussion of alt-azimuth field rotation and stacking
- Royal Astronomical Society of Canada, Ottawa Centre, “Public Star Parties.”
- UNISTELLAR USA, official store listings for current smart-telescope models
Editorial Method
Editorial method: Specifications and technical claims were checked against the sources listed above. No hands-on testing is claimed unless explicitly disclosed.
More from Telescope Buying Guides
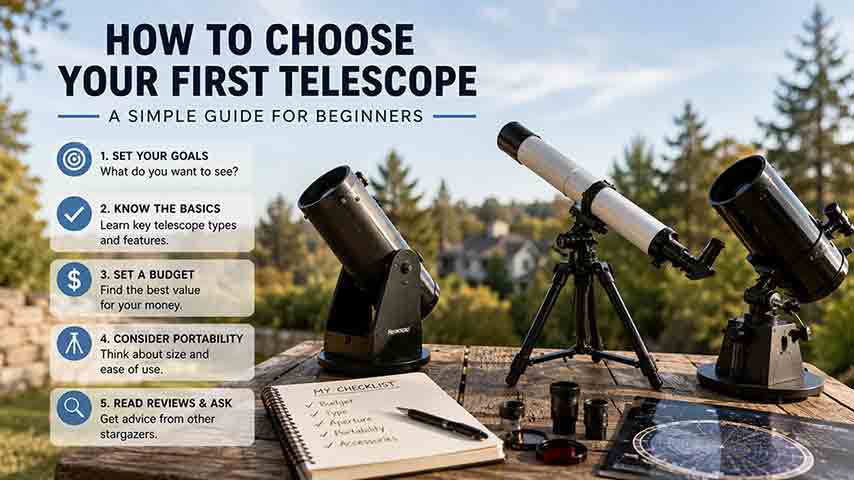
How to Choose Your First Telescope: A Beginner’s Buying Guide
Choosing a first telescope requires more than comparing aperture or advertised magnification. This practical beginner’s guide explains how to match a telescope to observing goals, light pollution, storage space, setup tolerance, and interest in visual observing or imaging. It compares refractors, Dobsonian reflectors, compound telescopes, and smart telescopes, then shows how aperture, focal length, focal ratio, magnification, and mount stability affect real use. Readers can use a quick-selection table, the original SPACE decision framework, a worked specification comparison, realistic household scenarios, new and used equipment checklists, and a troubleshooting chart. The guide also explains why a larger aperture cannot fully overcome bright urban skies, what to verify before buying a software-dependent smart telescope, and how to observe the Sun safely. Recommendations are based on authoritative guidance and published specifications rather than hands-on product testing or paid rankings
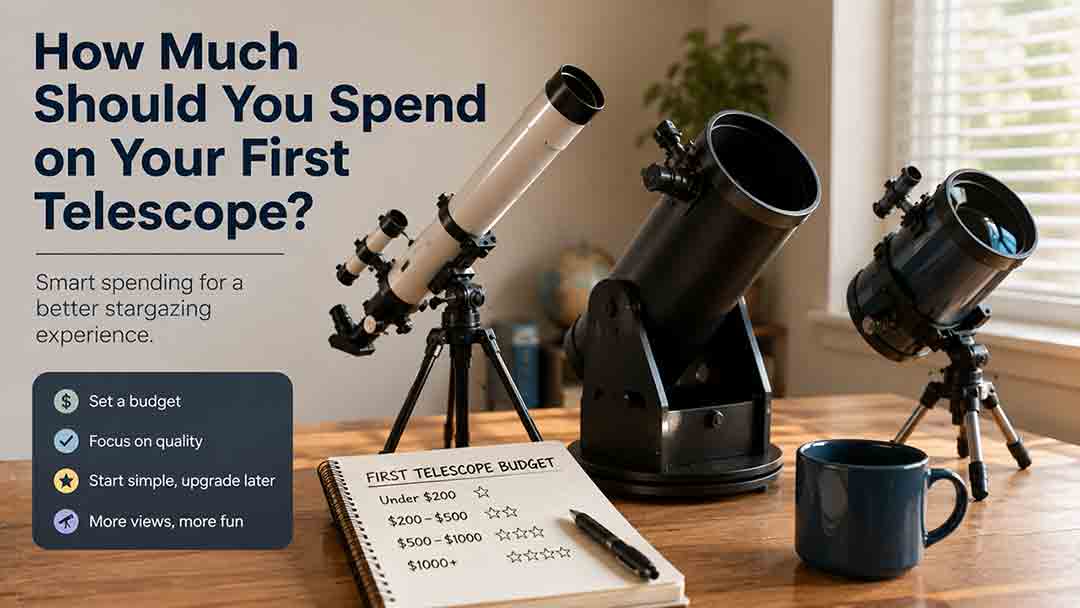
How Much Should You Spend on Your First Telescope?
Most beginners should plan a complete first-telescope budget of roughly $350–$700, although the right amount depends on observing goals, portability, automation, and whether the buyer wants direct eyepiece viewing or screen-based imaging. This guide explains what different budget ranges can realistically provide, why very low-cost telescope packages require caution, and when spending more for aperture, GoTo control, smart imaging, or compact optics is justified. It also separates visual astronomy from modular astrophotography, calculates total ownership cost, and shows how accessories, power, storage, shipping, and software can change the real price. The original FIRST Budget Test helps readers evaluate favorite targets, included equipment, real-world portability, desired skills, and total cost. Practical scenarios, a buying checklist, common mistakes, troubleshooting guidance, safety information, and current US market examples help beginners choose a stable, complete setup they are likely to use regularly.
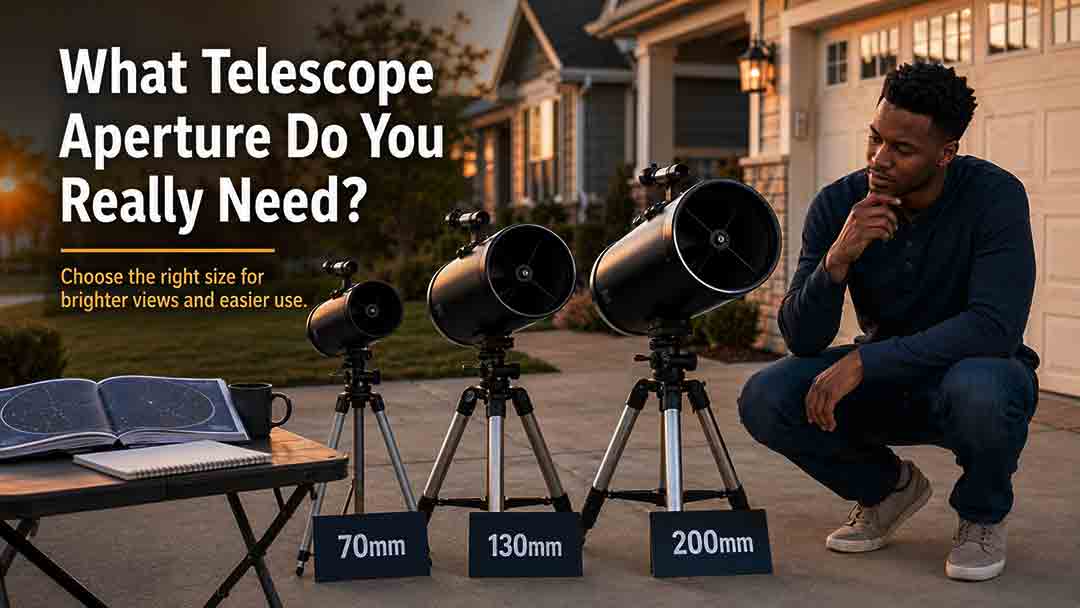
What Telescope Aperture Do You Really Need?
This guide explains how to compare up to four telescope eyepieces using magnification, exit pupil, true field, sky coverage, eye relief, weight, and observer-pupil matching. It defines a reference-eyepiece method so every ratio and percentage has a clear direction, prioritizes field-stop-based true field when reliable data is available, and warns when AFOV and field-stop estimates differ or when mixed calculation methods are used. The article adds the original Four-Dimension Eyepiece Role Map, a reproducible same-field-stop example, pupil-adjusted brightness calculations, weight conversion rules, compatibility reminders, and a transparent field-method warning threshold. Readers can identify meaningful role differences, evaluate possible overlap, and understand what calculations cannot reveal, including optical quality, comfort, mechanical safety, and real-world compatibility. The guidance is based on published specifications and authoritative references rather than product testing or universal rankings
Explore More Topics
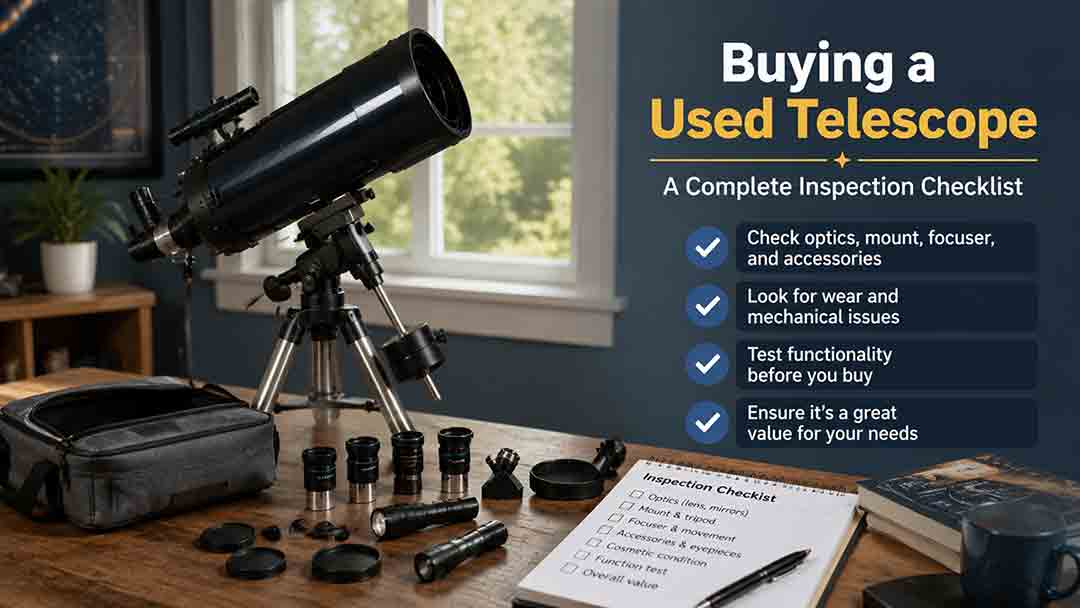
Buying a Used Telescope: A Complete Inspection Checklist
A used telescope can offer excellent value when the buyer verifies the exact model, ownership, optical condition, mechanical safety, electronic function, and complete accessory list before payment. This guide provides a structured inspection process for refractors, Newtonian and Dobsonian reflectors, Schmidt-Cassegrains, Maksutovs, manual and computerized mounts, eyepieces, filters, cameras, and smart telescopes. It distinguishes harmless dust and cosmetic wear from fungus, coating failure, bent hardware, water damage, unsupported electronics, and unsafe solar equipment. Readers also receive seller questions, daytime and nighttime test procedures, a repair-adjusted pricing formula, transaction-safety guidance, four practical scenarios, a buy-negotiate-walk-away framework, and a comprehensive printable checklist. The central recommendation is to price only verified function and preserve enough budget for missing parts, repairs, and uncertainty.
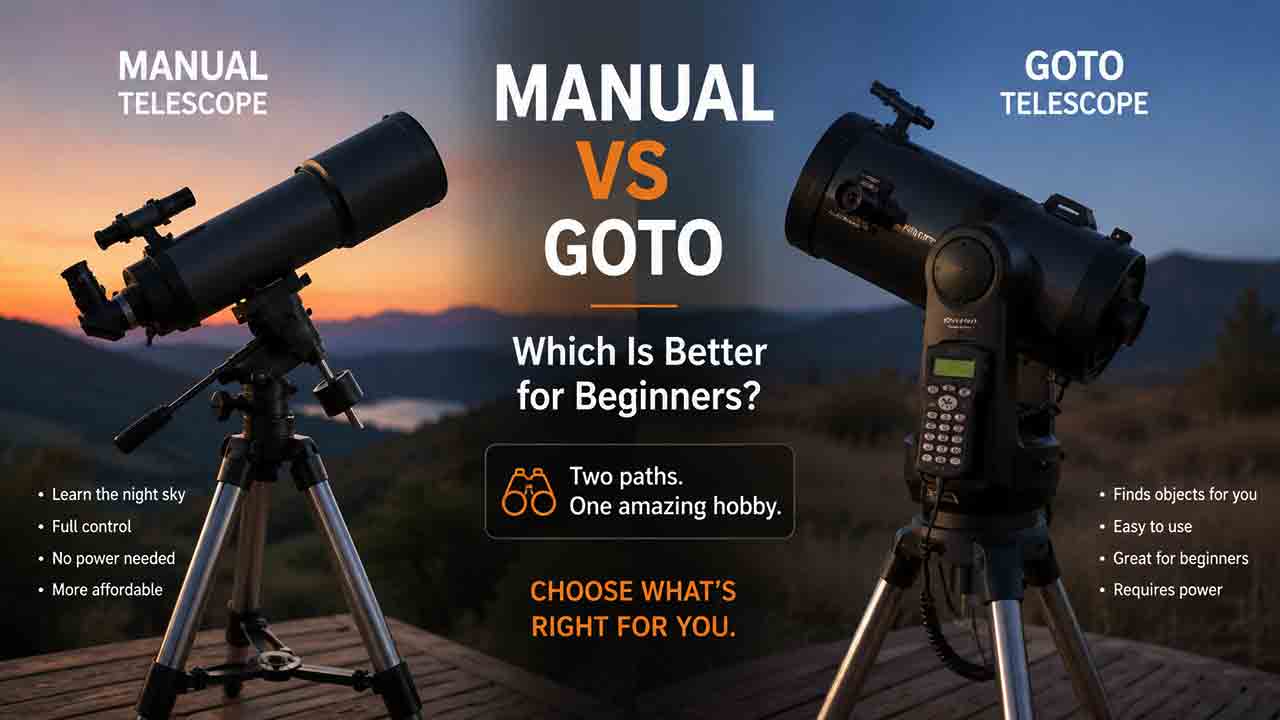
Manual vs GoTo Telescope: Which Is Better for Beginners?
Manual and GoTo telescopes solve different beginner problems. A manual telescope offers simpler setup, fewer electronic dependencies, and often more optical capability within a limited budget, while a GoTo telescope can locate cataloged objects and track them after a successful alignment. This comparison explains why GoTo does not improve aperture, remove light pollution, or automatically make a telescope suitable for long-exposure astrophotography. It compares setup time, tracking, portability, reliability, learning value, power requirements, and total ownership cost. The article also introduces the original TRACK decision framework, an illustrative break-even calculation for session time, five real-world buyer scenarios, separate purchase checklists, and troubleshooting tables for both manual and computerized systems. Beginners can use the guide to decide whether they prefer learning sky navigation, managing an electronic alignment workflow, or choosing a push-to system that combines manual movement with digital guidance."
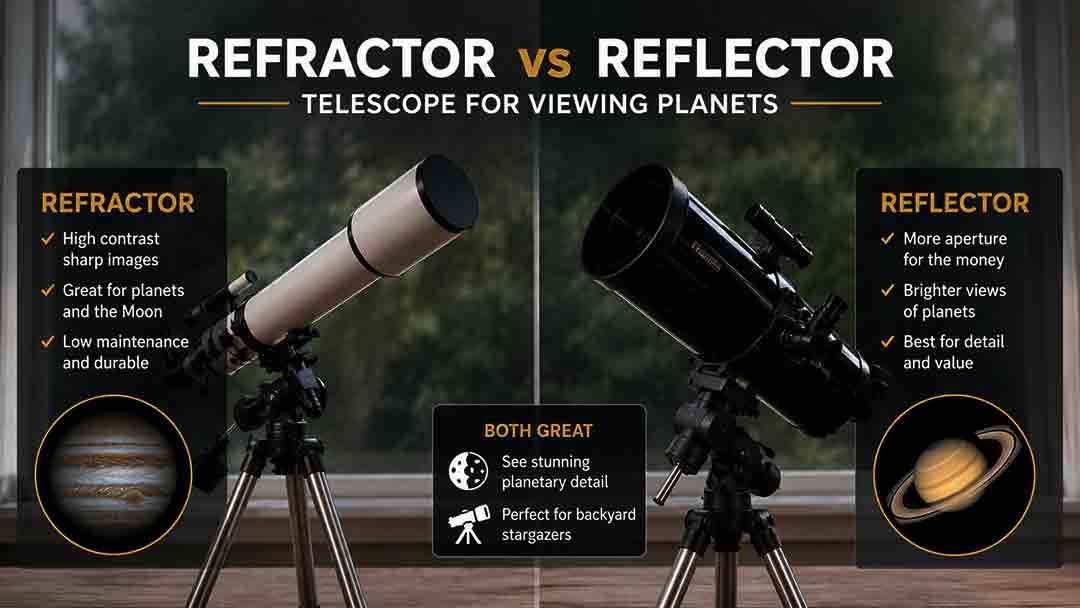
Refractor vs Reflector Telescope for Viewing Planets
A refractor is usually the easier planetary telescope at the same aperture, while a Newtonian reflector usually provides more resolving power for the same budget by offering a larger mirror. This guide compares unobstructed contrast, chromatic aberration, central obstruction, collimation, thermal preparation, mount stability, tracking, magnification, and portability. It explains how each design performs on the Moon, Jupiter, Saturn, Mars, Venus, Uranus, and Neptune, and separates equal-aperture, equal-price, and equal-portability comparisons. A 100 mm versus 150 mm aperture calculation, size recommendations, real-world buyer scenarios, a six-step decision framework, troubleshooting guidance, and a complete buying checklist help readers select a telescope that will deliver useful planetary performance in their actual observing environment.