What Telescope Aperture Do You Really Need?

What Telescope Aperture Do You Really Need?
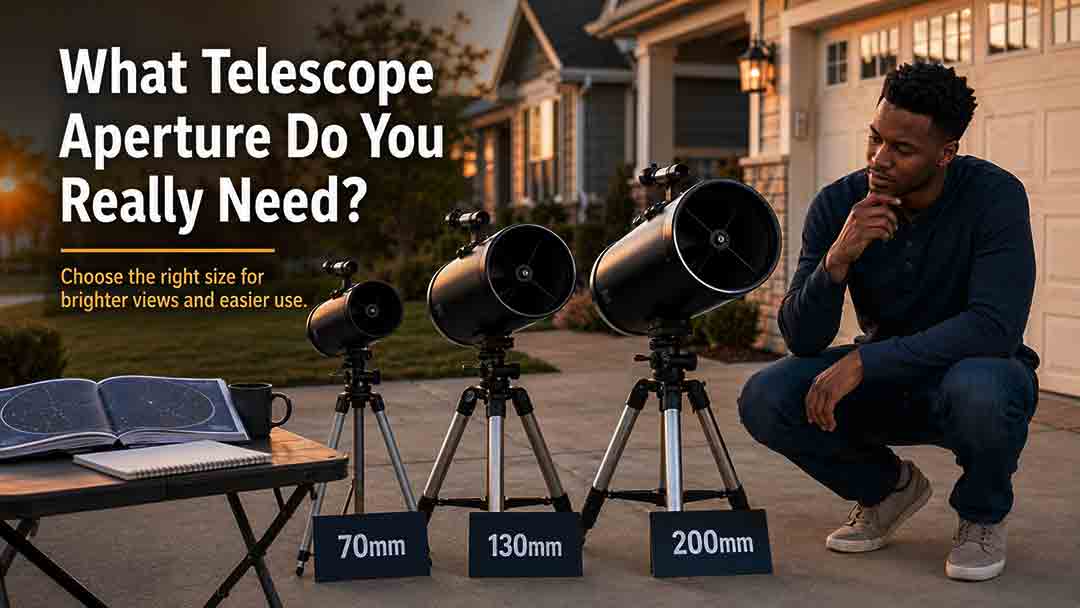
A telescope aperture between 100 mm and 150 mm is enough for many beginners who want portable views of the Moon, planets, double stars, and brighter deep-sky objects. For visual deep-sky observing, a 200 mm (8-inch) telescope offers a major improvement if you can store, carry, and set it up easily. The right aperture is the largest one you will use regularly—not simply the largest one you can afford.
Key Takeaways
- 100–130 mm is a practical starting range for compact, general-purpose observing.
- 150 mm provides a strong balance of light gathering, detail, cost, and portability.
- 200 mm is a popular visual-observing choice when storage and transport are manageable.
- Larger aperture improves light gathering and theoretical resolution, but it does not fix poor atmospheric conditions, light pollution, unstable mounts, or weak optics.
- For astrophotography, mount quality, focal ratio, tracking, and camera compatibility may matter more than buying the largest aperture.
This guide helps you match telescope aperture to what you want to observe, where you observe, how much equipment you can handle, and whether your goal is visual astronomy or imaging.
Editorial note: This guide is based on published specifications, authoritative documentation, optical principles, and practical selection criteria rather than hands-on product testing.
What Does Telescope Aperture Control?
Telescope aperture is the diameter of the instrument’s main light-collecting lens or mirror. It is usually stated in millimeters or inches.
Aperture directly influences two important capabilities:
- Light gathering: A larger lens or mirror collects more light, making faint objects easier to detect.
- Theoretical resolution: A larger aperture can separate finer details when the optics, atmosphere, temperature, and alignment allow it.
Aperture does not determine everything about a telescope. Focal length affects image scale and field of view. Optical design affects portability, maintenance, and cost. The mount determines whether the image stays steady enough to use.
The Royal Astronomical Society of Canada describes aperture as the size of the telescope’s light-gathering element and notes that larger apertures generally produce brighter images. NASA’s telescope overview likewise explains that telescopes use lenses or mirrors to collect and focus light.
How Much More Light Does a Larger Aperture Collect?
Light-gathering area increases with the square of the aperture diameter.
Use this comparison:
[
\text{Relative light gathering} = \left(\frac{D_2}{D_1}\right)^2
]
where (D_1) and (D_2) are the two aperture diameters.
For example, compare a 200 mm telescope with a 150 mm telescope:
[
\left(\frac{200}{150}\right)^2 \approx 1.78
]
The 200 mm aperture has about 1.78 times the collecting area, or roughly 78% more, before accounting for central obstructions, mirror reflectivity, lens transmission, and other real-world losses.
This difference can make faint star clusters, nebulae, and galaxies easier to detect. It does not mean that every object will look 78% larger, sharper, or more colorful.
Aperture comparison table
| Aperture | Common size label | Collecting area vs. 100 mm | Approximate Dawes limit* | Typical role |
|---|---|---|---|---|
| 70 mm | 2.8 inches | 0.49× | 1.66 arcseconds | Travel, Moon, bright targets |
| 80 mm | 3.1 inches | 0.64× | 1.45 arcseconds | Portable refractor, wide-field use |
| 100 mm | 3.9 inches | 1.00× | 1.16 arcseconds | Compact general observing |
| 114 mm | 4.5 inches | 1.30× | 1.02 arcseconds | Entry-level reflector |
| 130 mm | 5.1 inches | 1.69× | 0.89 arcseconds | Versatile beginner reflector |
| 150 mm | 5.9 inches | 2.25× | 0.77 arcseconds | Balanced visual telescope |
| 200 mm | 7.9 inches | 4.00× | 0.58 arcseconds | Strong visual deep-sky capability |
| 250 mm | 9.8 inches | 6.25× | 0.46 arcseconds | Committed visual observer |
*The Dawes limit is a theoretical estimate calculated as approximately 116 divided by aperture in millimeters. Actual performance can be limited by optical quality, collimation, thermal conditions, atmospheric turbulence, target contrast, and observer experience.
Does More Aperture Always Show More Detail?
More aperture creates the potential for more detail, but the atmosphere and the telescope system decide how much of that potential you can use.
On a stable night, a well-collimated 200 mm telescope can reveal finer planetary and lunar detail than a 100 mm telescope of similar optical quality. On a turbulent night, both instruments may show a moving, blurred image.
Atmospheric turbulence is commonly called seeing. Professional observatories monitor seeing because it can limit the angular detail available to ground-based telescopes. A larger aperture cannot remove atmospheric blur by itself.
Other practical limits include:
- The telescope has not cooled to outdoor temperature.
- A reflector or compound telescope is out of collimation.
- The mount shakes when touched or focused.
- The target is low above the horizon.
- The optics are poor or obstructed.
- Magnification is too high for the conditions.
- The observer has not allowed enough time to see subtle detail.
Aperture matters, but a stable, properly prepared telescope usually outperforms a larger telescope that is poorly mounted or rarely used.
What Aperture Is Best for the Moon and Planets?
Apertures from about 80 mm to 150 mm can provide satisfying lunar and planetary views, while 150–200 mm offers more resolution when atmospheric conditions cooperate.
The Moon is bright and detailed, so it does not require a large aperture to be interesting. Even a small, optically sound telescope can show craters, mountain shadows, and changes along the lunar terminator.
For planets, aperture helps with fine detail and usable magnification. However, planetary performance also depends on:
- Optical quality
- Collimation
- Thermal stability
- Atmospheric seeing
- Planet altitude
- Contrast
- Eyepiece quality
- Observer patience
Practical planetary recommendations
| Observer situation | Sensible aperture range | Why |
|---|---|---|
| Balcony or small storage area | 80–130 mm | Easier to carry and cool |
| Casual Moon and planet viewing | 90–150 mm | Useful detail without excessive bulk |
| Dedicated planetary observing | 150–250 mm | Greater resolution potential on steady nights |
| Frequent travel to observing sites | 80–150 mm | More likely to be transported and used |
A 100 mm refractor and a 130 mm reflector can both be good beginner planetary instruments, but they differ in cost, tube size, maintenance, and color correction. Aperture should be evaluated together with telescope design.
What Aperture Is Best for Deep-Sky Observing?
For visual observations of nebulae, galaxies, and star clusters, 150 mm is a useful starting point and 200 mm provides a noticeable increase in reach.
Deep-sky objects are often faint rather than merely small. More aperture collects more light, helping the observer detect dim structures and resolve more stars in clusters.
Under dark skies:
- 80–100 mm can show bright open clusters, the Orion Nebula, the Andromeda Galaxy, and other prominent objects.
- 130–150 mm reveals more cluster members and makes additional nebulae and galaxies easier to locate.
- 200 mm improves the visibility of many Messier and brighter NGC objects and begins to resolve more globular clusters.
- 250 mm and above can reveal fainter structures, but the telescope becomes more demanding to transport, cool, align, and store.
Under bright urban skies, extra aperture still helps, but it does not restore the contrast lost to skyglow. A dark observing location can produce a larger improvement than a modest aperture upgrade.
A useful comparison
Suppose one observer uses a 150 mm telescope from a dark rural site while another uses a 200 mm telescope under strong city light pollution. The smaller instrument may provide a more satisfying view of a low-surface-brightness galaxy because the rural sky has better contrast.
This does not make aperture unimportant. It shows that aperture and sky quality work together.
What Aperture Should a Beginner Choose?
Most beginners should consider 100–150 mm for portability or 150–200 mm for visual performance, depending on storage and setup tolerance.
Use the following decision framework instead of choosing by aperture alone.
Step 1: Decide where the telescope will live
A telescope stored fully assembled near a door is easier to use than one packed into several boxes.
Ask:
- Can the telescope remain assembled?
- Are there stairs?
- Must it fit in a car?
- Will it be carried across a yard or parking area?
- Is the storage area dry and secure?
Aperture that creates a storage problem is usually too large.
Step 2: Identify your main targets
Choose the closest match:
- Moon and planets: 80–150 mm can be highly useful; 150–200 mm adds detail potential.
- Mixed visual observing: 100–150 mm for compactness; 150–200 mm for stronger deep-sky performance.
- Deep-sky visual observing: 150–200 mm is a practical starting range; 250 mm or more suits committed observers.
- Travel observing: 70–100 mm refractor or a compact 100–130 mm reflector.
- Astrophotography: choose the mount and imaging system first; aperture alone is not the correct starting point.
Step 3: Set a complete-system budget
Do not spend the entire budget on the optical tube.
A usable system may also need:
- A stable mount
- One or two appropriate eyepieces
- A finder
- A star chart or planning app
- A collimation tool for some reflectors
- A dew shield or heater in humid climates
- A chair
- A red flashlight
- Cases or protective storage
A smaller telescope on a stable mount is generally more useful than a larger telescope on an inadequate mount.
Step 4: Estimate setup effort
Use this simple rule:
Choose the largest aperture you can carry, assemble, align, cool, and pack away without turning observing into a chore.
If a telescope takes so much effort that you avoid using it on ordinary nights, the extra aperture has little practical value.
Step 5: Check the telescope in person when possible
Before buying, visit an astronomy club, public observing night, or specialist retailer. Lift the optical tube. Move the assembled instrument. Look through different designs.
Published dimensions do not always communicate how awkward a telescope feels in a doorway, on stairs, or inside a small vehicle.
Aperture Recommendations by User Type
Choose 70–90 mm if portability is the priority
This range is suitable for:
- Air or car travel
- Quick lunar sessions
- Wide star fields
- Daytime spotting with an appropriate design
- Users with very limited storage
Advantages include fast setup, low weight, and minimal maintenance. The main limitation is reduced reach on faint deep-sky objects and lower resolution potential.
A small telescope is not automatically a poor telescope. A well-made 80 mm refractor used frequently can provide more value than a larger instrument that stays indoors.
Choose 100–130 mm for a compact all-rounder
This range is suitable for:
- First-time telescope owners
- Urban observers
- Moon and planet viewing
- Brighter clusters, nebulae, and galaxies
- Users who want manageable size
A 100 mm refractor, 114 mm reflector, or 130 mm reflector can provide a broad introduction to visual astronomy. Compare mount stability and optical design rather than assuming equal aperture means equal experience.
Choose 150 mm for balance
A 150 mm telescope is often a useful middle ground.
It offers:
- More than twice the collecting area of a 100 mm aperture
- Better deep-sky reach
- Strong lunar and planetary capability
- Manageable size in many designs
- Lower transport burden than many 200–250 mm systems
A 150 mm Dobsonian reflector can be a straightforward visual instrument. A 150 mm refractor, by contrast, may be large, heavy, and expensive because telescope type changes the physical demands.
Choose 200 mm if visual performance is the priority
A 200 mm, or roughly 8-inch, telescope is a strong choice for an observer who:
- Has room to store it
- Can carry the tube and mount safely
- Wants noticeably better deep-sky views
- Is willing to manage cooling and collimation where applicable
- Observes often enough to justify the size
A 200 mm Dobsonian is commonly considered because reflectors can provide substantial aperture at a lower cost than similarly sized refractors. However, the base and tube still require floor space and vehicle capacity.
Choose 250 mm or more only after checking the logistics
Larger visual telescopes can be rewarding, especially under dark skies. They can also require:
- Longer cooling time
- More frequent collimation checks
- Larger vehicles
- Heavier components
- More storage space
- Ladders or stools in some configurations
- Greater commitment to observing sessions
Before moving into this range, handle a comparable telescope in person. The gain in light gathering is real, but so is the increase in effort.
Does Telescope Type Change the Aperture You Need?
Yes. The same aperture can have very different cost, weight, field of view, maintenance, and mounting requirements depending on the optical design.
Refractors
Refractors use a front objective lens.
Common strengths:
- Simple setup
- Low routine maintenance
- Good contrast
- Sealed tube
- Useful wide-field views in shorter designs
Common tradeoffs:
- Large apertures become expensive and heavy
- Some models show chromatic aberration
- Long tubes need substantial mounts
A 100 mm refractor may be easier to maintain than a 130 mm reflector, but it may cost more.
Newtonian reflectors
Newtonian reflectors use a primary mirror and a secondary mirror.
Common strengths:
- More aperture for the money
- No chromatic aberration
- Dobsonian mounts can be simple and stable
- Strong visual deep-sky value
Common tradeoffs:
- Collimation may be required
- Open tubes can collect dust
- Larger tubes become bulky
- Coma may be visible near the edge in fast designs
A 150–200 mm Dobsonian is often appealing to visual observers because the mount is simple and much of the cost goes into aperture.
Compound telescopes
Schmidt-Cassegrain and Maksutov-Cassegrain designs fold a long optical path into a shorter tube.
Common strengths:
- Compact optical tube
- Long focal length in a small package
- Comfortable for lunar, planetary, and double-star observing
- Compatible with many tracking mounts
Common tradeoffs:
- Narrower maximum field in many configurations
- Longer thermal adjustment
- Dew can form on the front corrector
- Mount and electronics may add cost and complexity
A compact 150–200 mm compound telescope may fit a small storage area better than a long Newtonian tube, even though the total system can still be heavy.
How Does Aperture Affect Magnification?
Aperture limits how much magnification can reveal additional detail, but magnification itself is set by telescope focal length and eyepiece focal length.
[
\text{Magnification} = \frac{\text{Telescope focal length}}{\text{Eyepiece focal length}}
]
A 1,000 mm telescope used with a 10 mm eyepiece produces 100× magnification.
Manufacturers often describe a highest useful magnification under ideal conditions. Celestron notes that extremely high power enlarges the image without adding detail once the useful limit is exceeded. In ordinary observing, atmospheric stability often creates a lower practical limit.
Signs of excessive magnification include:
- The image becomes dim without revealing new structure.
- Planetary edges look soft.
- Focusing becomes difficult.
- Atmospheric movement becomes more obvious.
- The target drifts out of view too quickly.
- Mount vibration becomes distracting.
Do not choose a telescope because its box advertises an extreme magnification number. Aperture, optical quality, mount stability, and observing conditions are more meaningful.
Does Light Pollution Change the Aperture You Need?
Light pollution does not change the physical aperture you need, but it changes which targets benefit most from it.
From a city:
- The Moon and planets remain productive targets.
- Double stars and bright clusters can be rewarding.
- Bright planetary nebulae may still show well.
- Low-contrast galaxies and diffuse nebulae become harder.
A larger aperture can reveal more stars and maintain brighter views at higher magnification, but it cannot darken the sky background by itself.
For deep-sky observing, consider combining a manageable telescope with occasional travel to darker skies. A portable 150 mm telescope used at a dark site may be more useful than a 250 mm telescope that cannot be transported.
Is More Aperture Better for Astrophotography?
Not necessarily. For astrophotography, the mount, focal ratio, focal length, sensor, tracking accuracy, and target choice may matter more than aperture alone.
For visual astronomy, the eye receives light in real time, so aperture is a major factor in how faint an object appears. A camera can collect light over many exposures, stack frames, and process the result.
A large telescope can create imaging challenges:
- Greater weight requires a stronger mount.
- Longer focal length magnifies tracking errors.
- Narrower fields make target acquisition harder.
- Guiding becomes more demanding.
- Wind affects a larger optical tube.
- Storage and setup become more complex.
A small 60–100 mm apochromatic refractor on a capable equatorial mount can be an effective deep-sky imaging system even though its aperture is modest. Planetary imaging may benefit from larger aperture because fine resolution is important, but atmospheric seeing remains a major constraint.
For a first imaging setup, select the mount and target scale before choosing aperture.
What Aperture Gives the Best Value?
For visual astronomy, 130–200 mm often provides strong value, but the best-value aperture is the one supported by an adequate mount and realistic setup routine.
Value is not simply aperture divided by price.
Use this five-part score:
| Criterion | Question |
|---|---|
| Observing fit | Does the aperture suit your main targets? |
| Portability | Can you move it without assistance? |
| Setup | Can you be observing within a reasonable routine? |
| Mount quality | Does the image remain steady when focusing? |
| Frequency | Will you use it at least several times each season? |
A telescope that scores well across all five criteria is usually a better purchase than a larger model that wins only on aperture.
A Real-World Decision Example
Consider two buyers.
Buyer A: Apartment observer
Buyer A has a small balcony, carries equipment through two doors, and mainly wants to see the Moon, Jupiter, Saturn, and bright clusters.
A 100–130 mm telescope on a stable, compact mount is a reasonable match. A 200 mm Dobsonian may provide brighter views, but storage and movement could reduce how often it is used.
Buyer B: Suburban visual observer
Buyer B has a garage, observes from a driveway, owns a vehicle, and wants to explore galaxies, nebulae, and globular clusters.
A 200 mm Dobsonian may provide a useful balance. Buyer B can store it near the observing area and transport it to darker skies.
The better aperture is different because the observing systems are different.
Common Aperture Buying Mistakes
Buying the largest telescope within the budget
This often leaves too little money for a stable mount, useful eyepieces, storage, or transport.
Comparing aperture without comparing design
A 150 mm refractor, reflector, and compound telescope are not equivalent in price, size, cooling behavior, and field of view.
Expecting photographs through the eyepiece
Visual astronomy is usually subtle. Galaxies and nebulae often appear as gray, low-contrast structures rather than colorful processed photographs.
Ignoring the mount
A shaking image can erase the practical benefit of good optics and large aperture.
Believing extreme magnification claims
High magnification cannot create detail the aperture, optics, atmosphere, and target do not provide.
Assuming aperture defeats light pollution
Larger telescopes gather object light and skyglow. Darker skies remain important for faint, extended objects.
Underestimating cooling and collimation
Large mirrors and closed optical systems may need time to reach outdoor temperature. Reflectors may need alignment checks for best performance.
Troubleshooting: When a Large Aperture Does Not Look Better
The planet looks blurry
Try these steps:
- Reduce magnification.
- Observe when the planet is higher in the sky.
- Allow the telescope to reach outdoor temperature.
- Check collimation if the design requires it.
- Observe for several minutes and wait for steadier moments.
Deep-sky objects remain faint
Check:
- Whether the sky is fully dark
- Whether the Moon is bright
- Whether the target is high enough
- Whether you are using an appropriate low-power eyepiece
- Whether your eyes are dark-adapted
- Whether the site has heavy light pollution
- Whether the target is realistic for the aperture and conditions
Stars will not focus to points
Possible causes include:
- Poor atmospheric seeing
- Tube currents
- Dew
- Misalignment
- Pinched or damaged optics
- A low-quality eyepiece
- Astigmatism in the observer’s eye
- The target being low above the horizon
The telescope is rarely used
The aperture may be too demanding for your routine. Consider storing the instrument closer to the observing location, using a transport cart, or keeping a smaller grab-and-go telescope for short sessions.
Telescope Aperture Buying Checklist
Before purchasing, confirm the following:
- I know whether my priority is planets, deep-sky viewing, travel, or imaging.
- I have measured the storage area.
- I know the weight of the heaviest single component.
- The telescope fits through doors, stairs, and vehicle openings.
- The mount is appropriate for the optical tube.
- I have reserved budget for essential accessories.
- I understand the cooling and collimation requirements.
- I have realistic expectations for my local light pollution.
- I have seen or handled a similar telescope if choosing 200 mm or more.
- I would still use this telescope on an ordinary weeknight.
Which Aperture Should You Buy?
Use this practical summary:
- Choose 70–90 mm for travel, fast setup, and bright targets.
- Choose 100–130 mm for a compact beginner telescope with broad usefulness.
- Choose 150 mm for a balanced visual instrument with stronger deep-sky capability.
- Choose 200 mm for serious visual observing when storage and transport are manageable.
- Choose 250 mm or more after confirming that the extra size will not reduce observing frequency.
- For astrophotography, prioritize the mount and complete imaging system before aperture.
The right telescope aperture is not the maximum diameter in your price range. It is the aperture that fits your targets, skies, storage, strength, vehicle, mount, and willingness to set it up.
Frequently Asked Questions
Is 70 mm enough for a beginner telescope?
A 70 mm telescope can be enough for lunar observing, bright planets, double stars, and prominent star clusters. It is especially useful when portability matters. Its limitations become more noticeable on faint deep-sky objects and at high magnification.
Is a 100 mm telescope good for planets?
A well-made 100 mm telescope can show lunar detail, Jupiter’s major cloud belts and moons, Saturn’s rings, Venus’s phases, and Mars as a small disk when conditions are favorable. More aperture can reveal subtler detail, but optical quality and atmospheric seeing remain important.
Is a 150 mm telescope enough for deep-sky objects?
Yes. Under reasonably dark skies, a 150 mm telescope can show many star clusters, bright nebulae, planetary nebulae, and galaxies. It will not make every object bright or colorful, but it provides a meaningful improvement over smaller apertures.
Is an 8-inch telescope too large for a beginner?
An 8-inch telescope is not automatically too large. It can be beginner-friendly when the user has suitable storage, can move the components safely, and understands setup and maintenance. It is a poor choice when stairs, limited space, or transport make regular use difficult.
Does a larger aperture need more magnification?
No. Aperture and magnification are related but separate. A larger aperture can support higher useful magnification under suitable conditions, yet many deep-sky objects are best viewed at low or moderate power.
Should I buy aperture or GoTo technology?
Choose based on your observing barriers. More aperture improves light gathering, while GoTo can help locate and track objects after setup and alignment. A simple manual telescope may offer more aperture for the same budget, but a tracking system may be more useful for some observers.
Sources
- NASA Science — Telescopes 101
- NASA Science — Skywatching Tips
- Royal Astronomical Society of Canada — Telescope Basics
- Royal Astronomical Society of Canada — Beginner Telescopes and Accessories
- Celestron — Benefits of a Bigger Aperture
- Celestron — Optical Specification Calculator
- Celestron — How to Determine Which Eyepieces to Use
- European Southern Observatory — Observing Conditions: Definitions
- European Southern Observatory — What Is Active and Adaptive Optics?
- Sky & Telescope — How to Choose a Telescope
More from Telescope Buying Guides
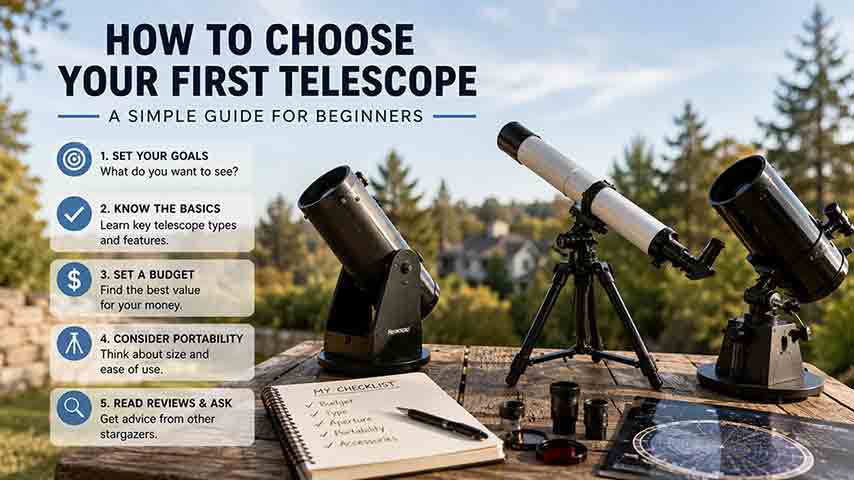
How to Choose Your First Telescope: A Beginner’s Buying Guide
Choosing a first telescope requires more than comparing aperture or advertised magnification. This practical beginner’s guide explains how to match a telescope to observing goals, light pollution, storage space, setup tolerance, and interest in visual observing or imaging. It compares refractors, Dobsonian reflectors, compound telescopes, and smart telescopes, then shows how aperture, focal length, focal ratio, magnification, and mount stability affect real use. Readers can use a quick-selection table, the original SPACE decision framework, a worked specification comparison, realistic household scenarios, new and used equipment checklists, and a troubleshooting chart. The guide also explains why a larger aperture cannot fully overcome bright urban skies, what to verify before buying a software-dependent smart telescope, and how to observe the Sun safely. Recommendations are based on authoritative guidance and published specifications rather than hands-on product testing or paid rankings
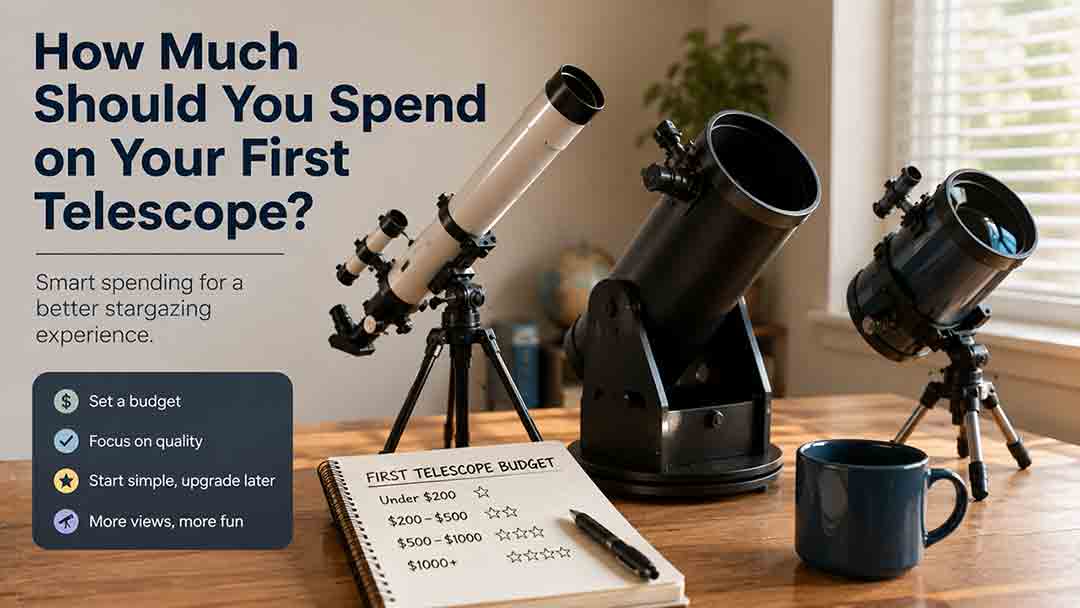
How Much Should You Spend on Your First Telescope?
Most beginners should plan a complete first-telescope budget of roughly $350–$700, although the right amount depends on observing goals, portability, automation, and whether the buyer wants direct eyepiece viewing or screen-based imaging. This guide explains what different budget ranges can realistically provide, why very low-cost telescope packages require caution, and when spending more for aperture, GoTo control, smart imaging, or compact optics is justified. It also separates visual astronomy from modular astrophotography, calculates total ownership cost, and shows how accessories, power, storage, shipping, and software can change the real price. The original FIRST Budget Test helps readers evaluate favorite targets, included equipment, real-world portability, desired skills, and total cost. Practical scenarios, a buying checklist, common mistakes, troubleshooting guidance, safety information, and current US market examples help beginners choose a stable, complete setup they are likely to use regularly.
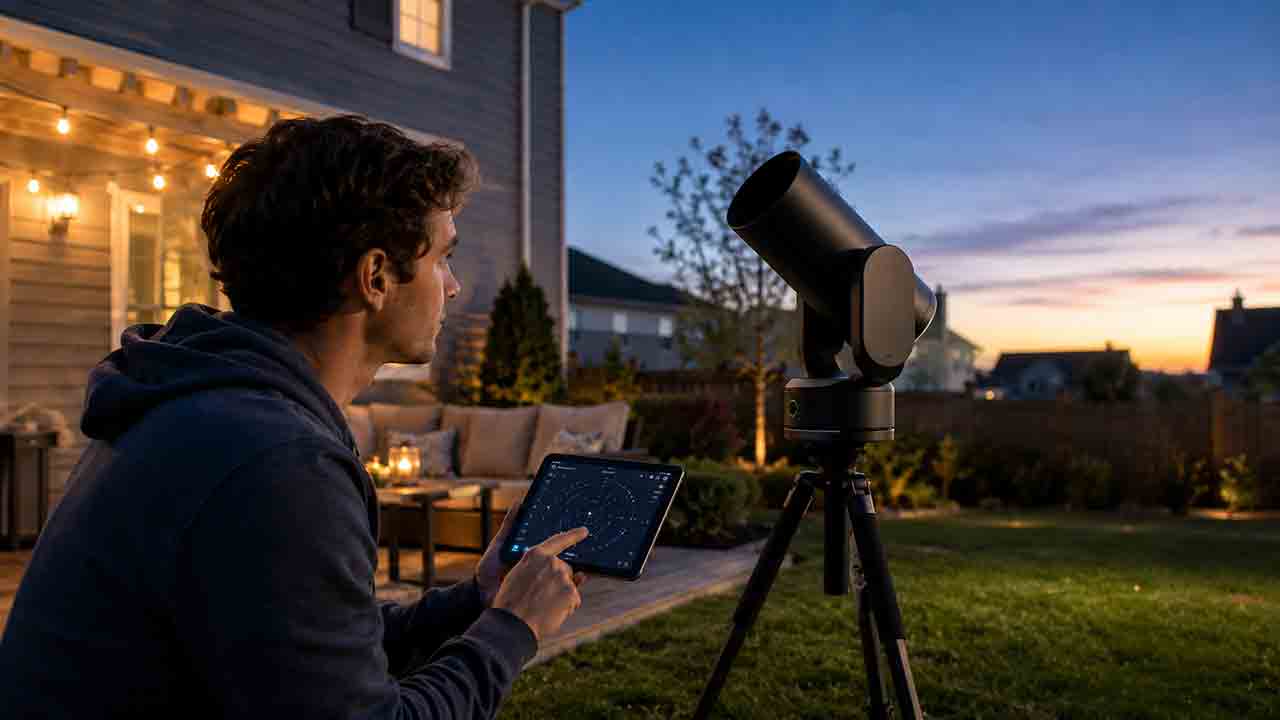
Are Smart Telescopes Worth It for Beginners?
Smart telescopes can be worthwhile for beginners who want automated target finding, live-stacked deep-sky images, and a compact system controlled from a phone or tablet. However, they are not a universal replacement for traditional telescopes. Beginners who value direct eyepiece views, high-magnification planetary observing, manual sky navigation, or component-by-component upgrades may prefer a refractor, reflector, or catadioptric telescope. This guide explains how smart telescopes combine optics, cameras, motorized tracking, and image processing; compares them with traditional and modular imaging setups; and examines costs, software dependence, batteries, light pollution, target suitability, and long-term flexibility. It also provides the original WORTH decision framework, a hypothetical cost-per-session example, real-world beginner scenarios, a purchase checklist, common mistakes, and troubleshooting steps. The goal is to help readers choose based on their actual observing style rather than marketing claims or specifications alone
Explore More Topics
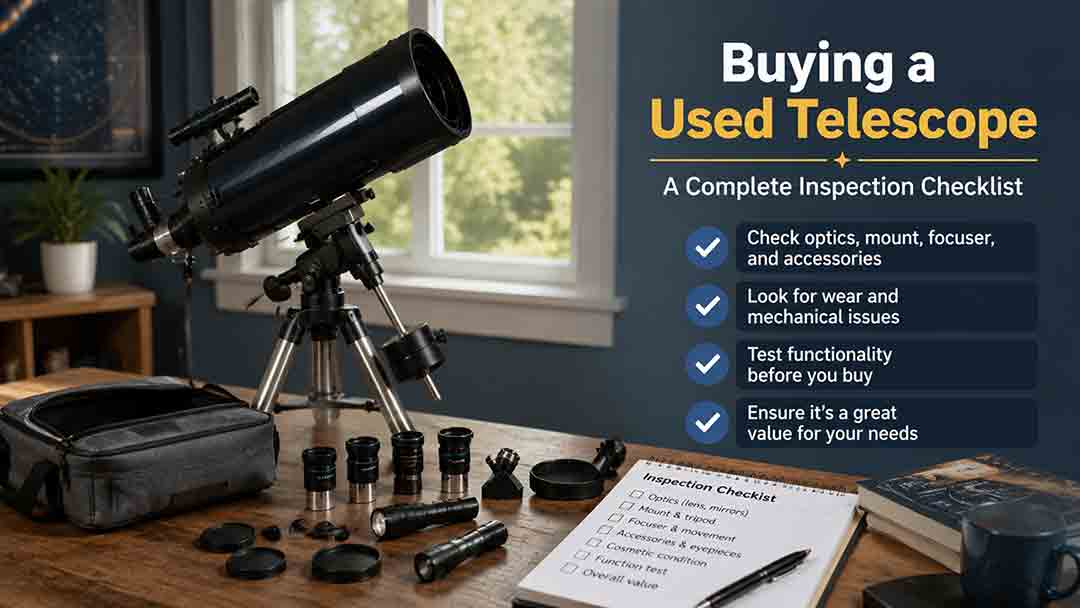
Buying a Used Telescope: A Complete Inspection Checklist
A used telescope can offer excellent value when the buyer verifies the exact model, ownership, optical condition, mechanical safety, electronic function, and complete accessory list before payment. This guide provides a structured inspection process for refractors, Newtonian and Dobsonian reflectors, Schmidt-Cassegrains, Maksutovs, manual and computerized mounts, eyepieces, filters, cameras, and smart telescopes. It distinguishes harmless dust and cosmetic wear from fungus, coating failure, bent hardware, water damage, unsupported electronics, and unsafe solar equipment. Readers also receive seller questions, daytime and nighttime test procedures, a repair-adjusted pricing formula, transaction-safety guidance, four practical scenarios, a buy-negotiate-walk-away framework, and a comprehensive printable checklist. The central recommendation is to price only verified function and preserve enough budget for missing parts, repairs, and uncertainty.
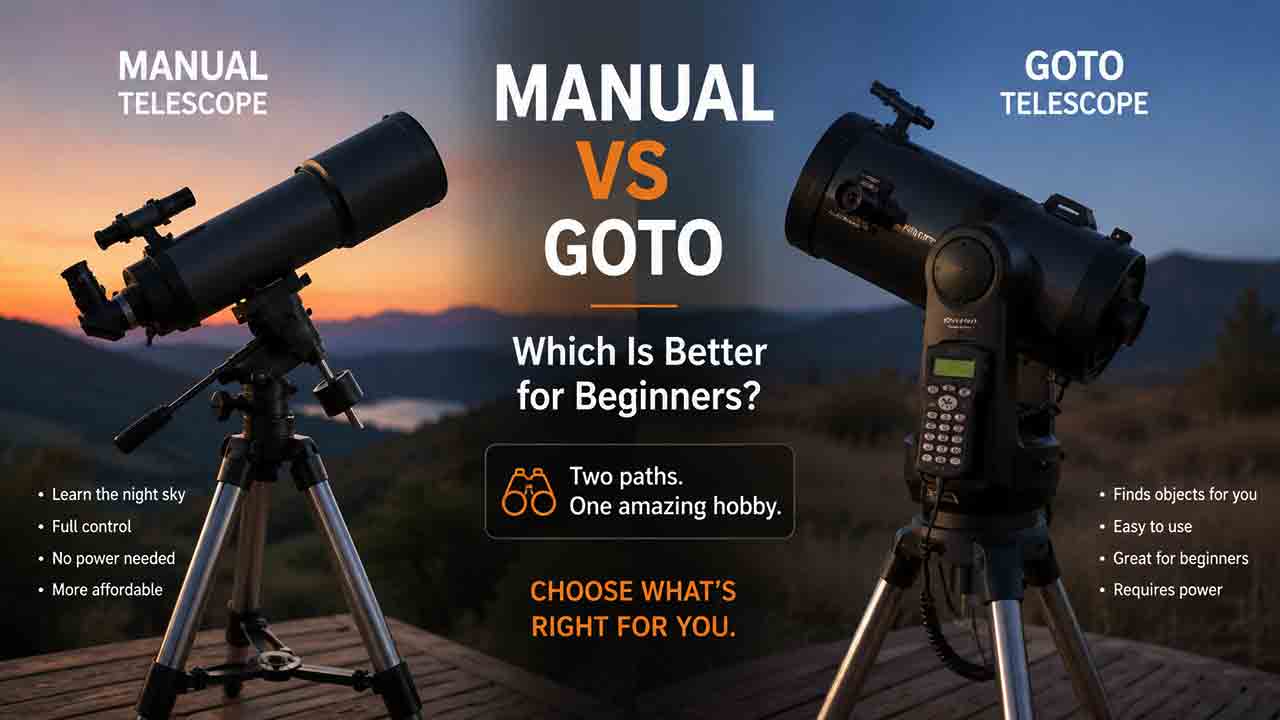
Manual vs GoTo Telescope: Which Is Better for Beginners?
Manual and GoTo telescopes solve different beginner problems. A manual telescope offers simpler setup, fewer electronic dependencies, and often more optical capability within a limited budget, while a GoTo telescope can locate cataloged objects and track them after a successful alignment. This comparison explains why GoTo does not improve aperture, remove light pollution, or automatically make a telescope suitable for long-exposure astrophotography. It compares setup time, tracking, portability, reliability, learning value, power requirements, and total ownership cost. The article also introduces the original TRACK decision framework, an illustrative break-even calculation for session time, five real-world buyer scenarios, separate purchase checklists, and troubleshooting tables for both manual and computerized systems. Beginners can use the guide to decide whether they prefer learning sky navigation, managing an electronic alignment workflow, or choosing a push-to system that combines manual movement with digital guidance."
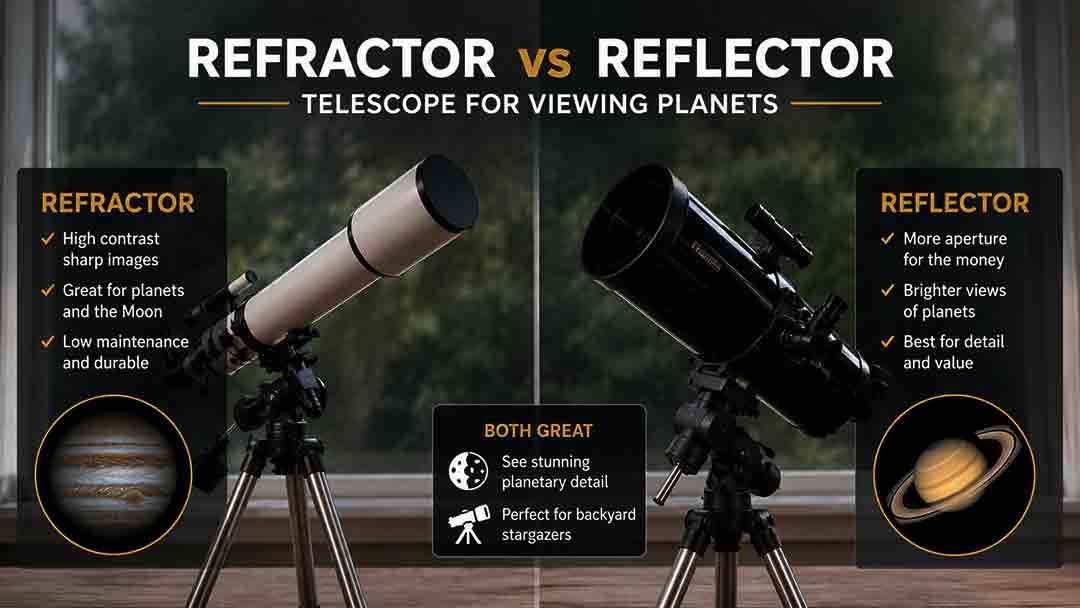
Refractor vs Reflector Telescope for Viewing Planets
A refractor is usually the easier planetary telescope at the same aperture, while a Newtonian reflector usually provides more resolving power for the same budget by offering a larger mirror. This guide compares unobstructed contrast, chromatic aberration, central obstruction, collimation, thermal preparation, mount stability, tracking, magnification, and portability. It explains how each design performs on the Moon, Jupiter, Saturn, Mars, Venus, Uranus, and Neptune, and separates equal-aperture, equal-price, and equal-portability comparisons. A 100 mm versus 150 mm aperture calculation, size recommendations, real-world buyer scenarios, a six-step decision framework, troubleshooting guidance, and a complete buying checklist help readers select a telescope that will deliver useful planetary performance in their actual observing environment.